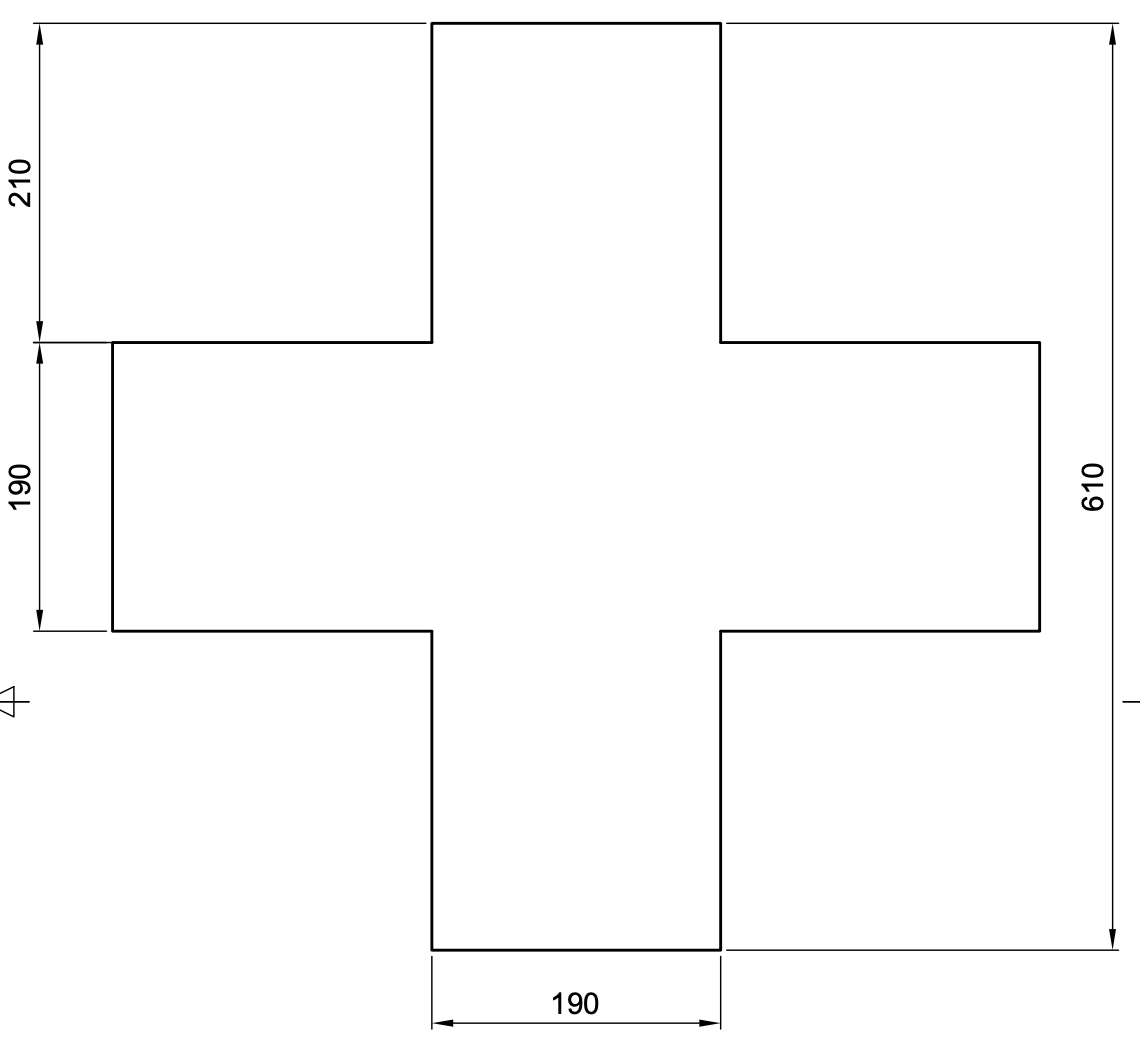
Just like the tests showed us, our parachute was still to fast. Thus we needed to reduce its surface area during the descent. Since the measured downfall speed was of about 6m/s and the desired one of about 8m/s, we used the ratio 6/8 to reduce the surface area.
The parachute was so revised and downsized, for this procedure we followed the same one we used for the first one but with the new desired surface area.
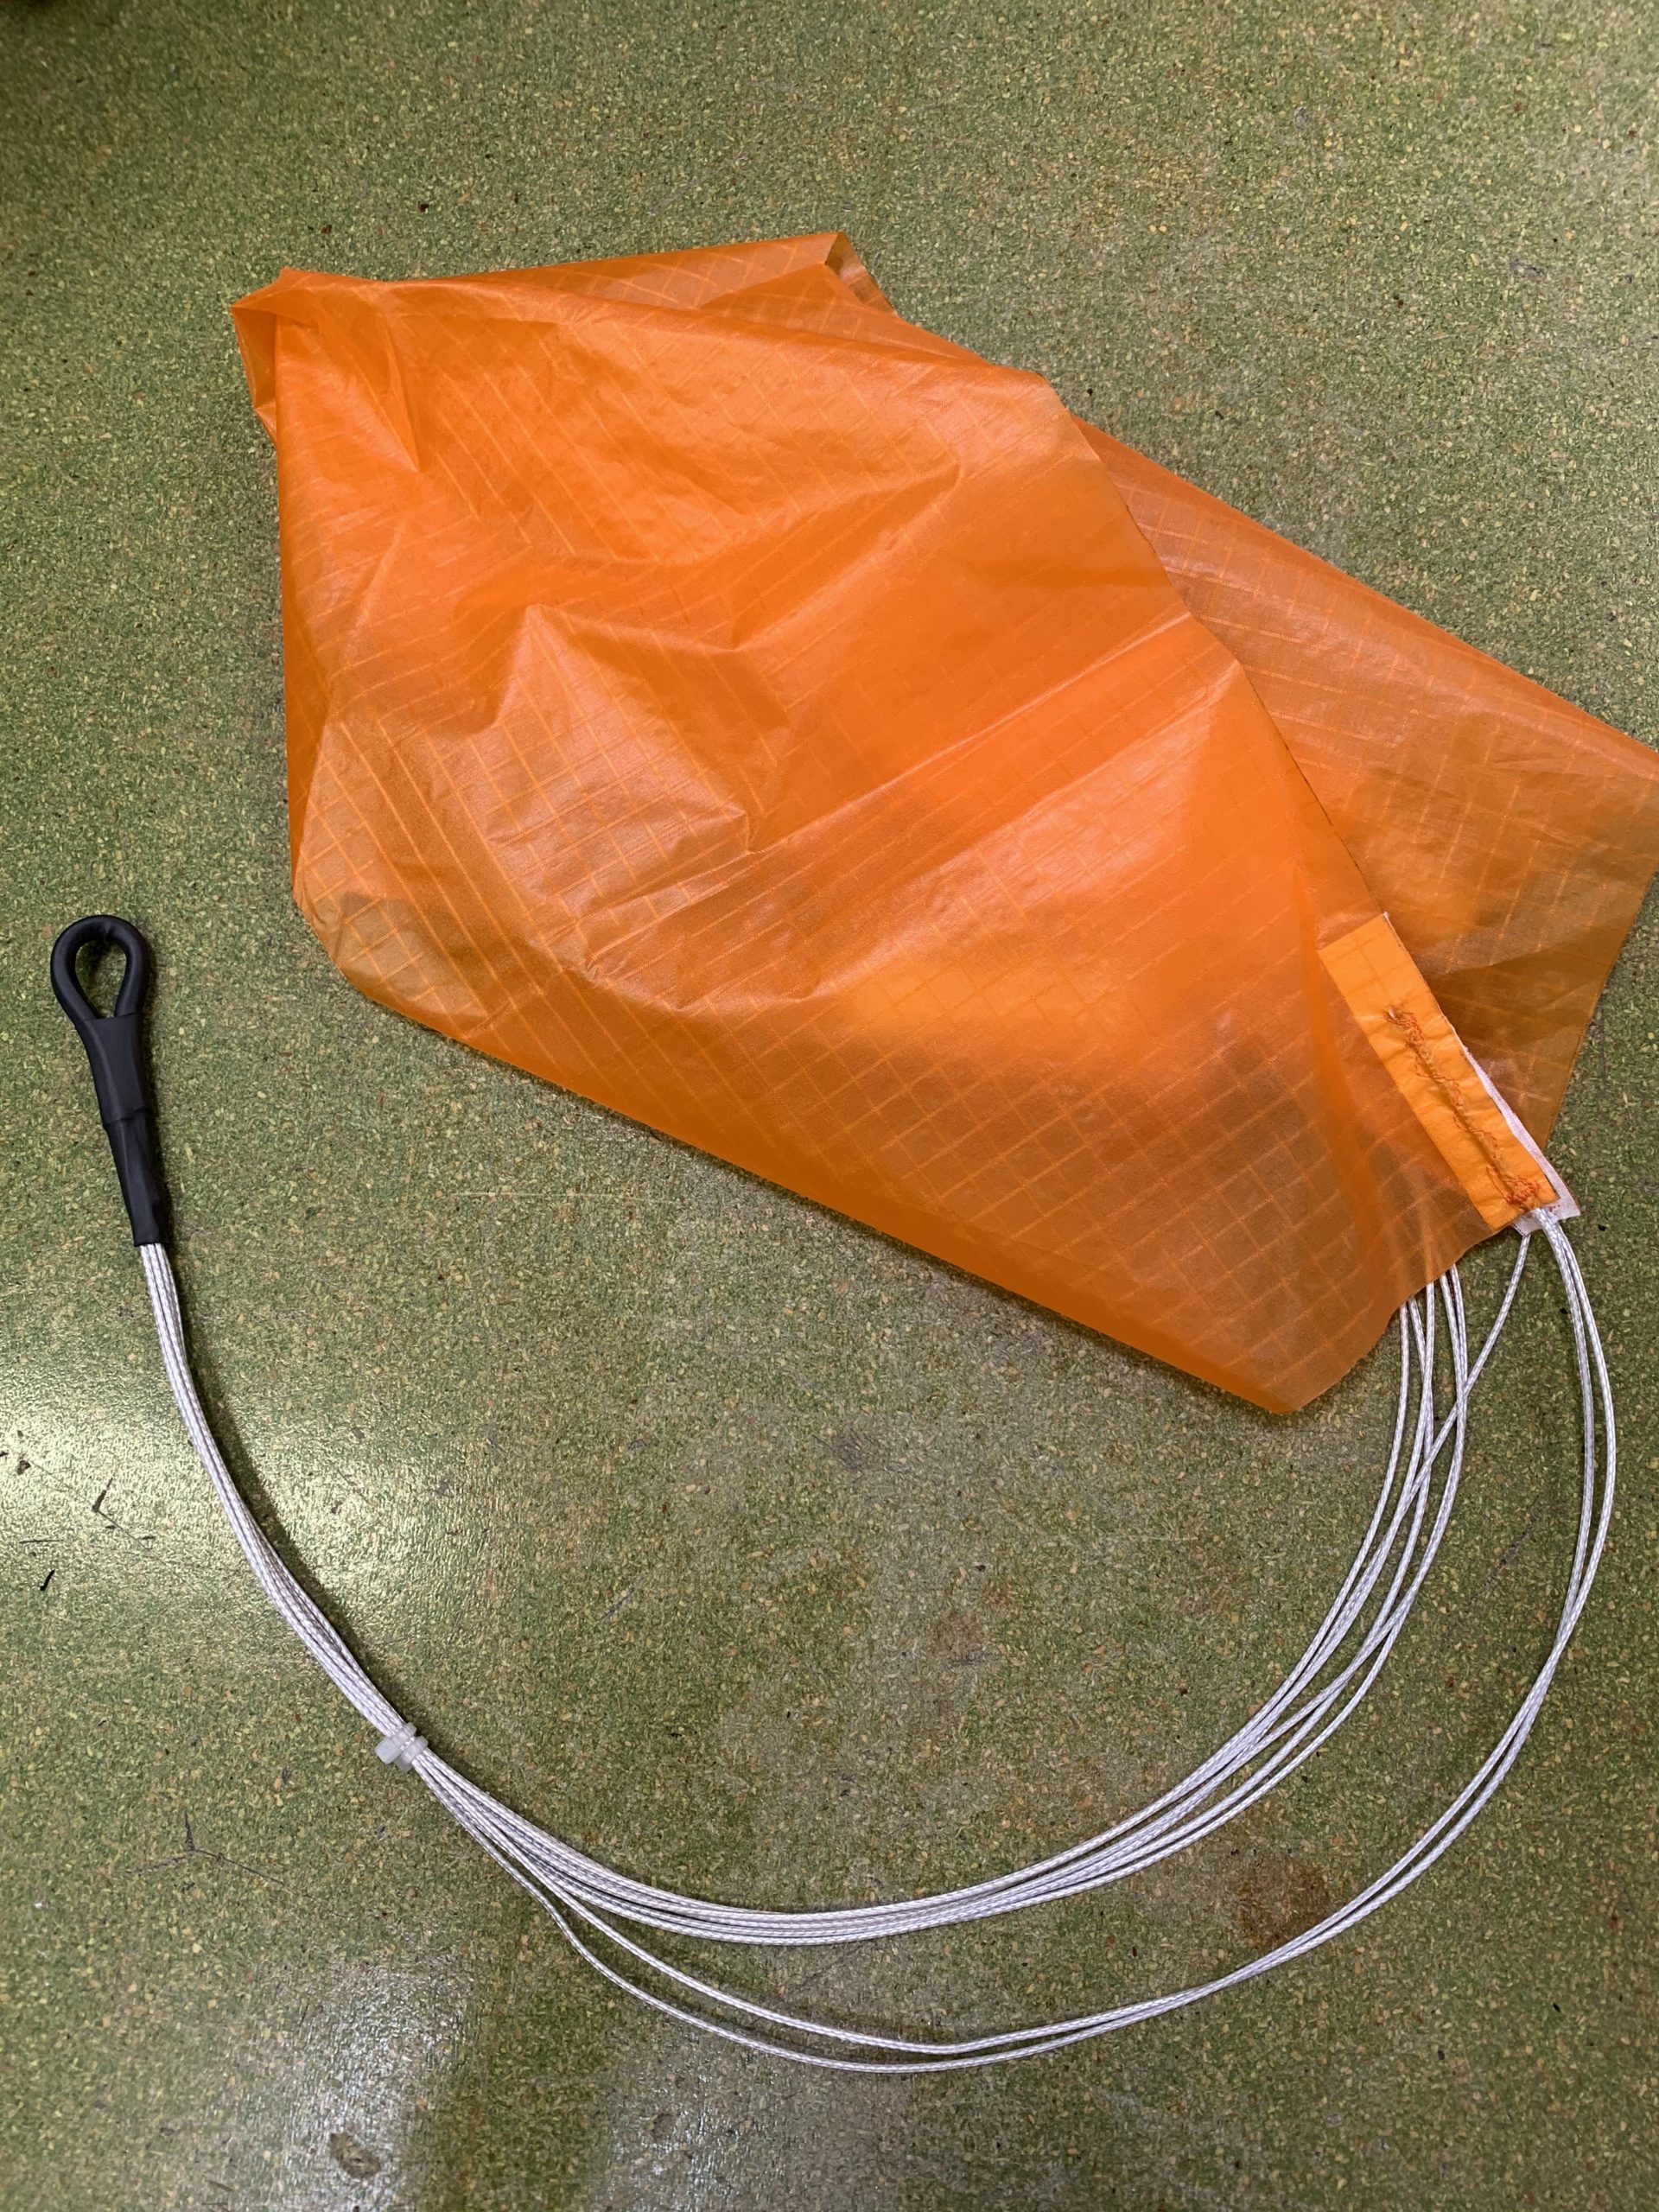
By reducing its size we also spared some weight, in fact this new parachute weighs about 17g, while the old one weighed in at 20g. This is not a drastic difference because the main weight is given by the ropes and the loop, which where not modified.

Here we can see the last test from one of our school’s window, we realised that the estimates from these tests were very close to the ones measured with the drone, meaning that it is sufficient to throw it from this height.
We use the timestamp and frames to determine the time it takes to fall down a known length (like the lower window i.e.) and then we check if it is similar to our computer simulation.
In this test we used the new reduced size parachute, but it was still to fast..


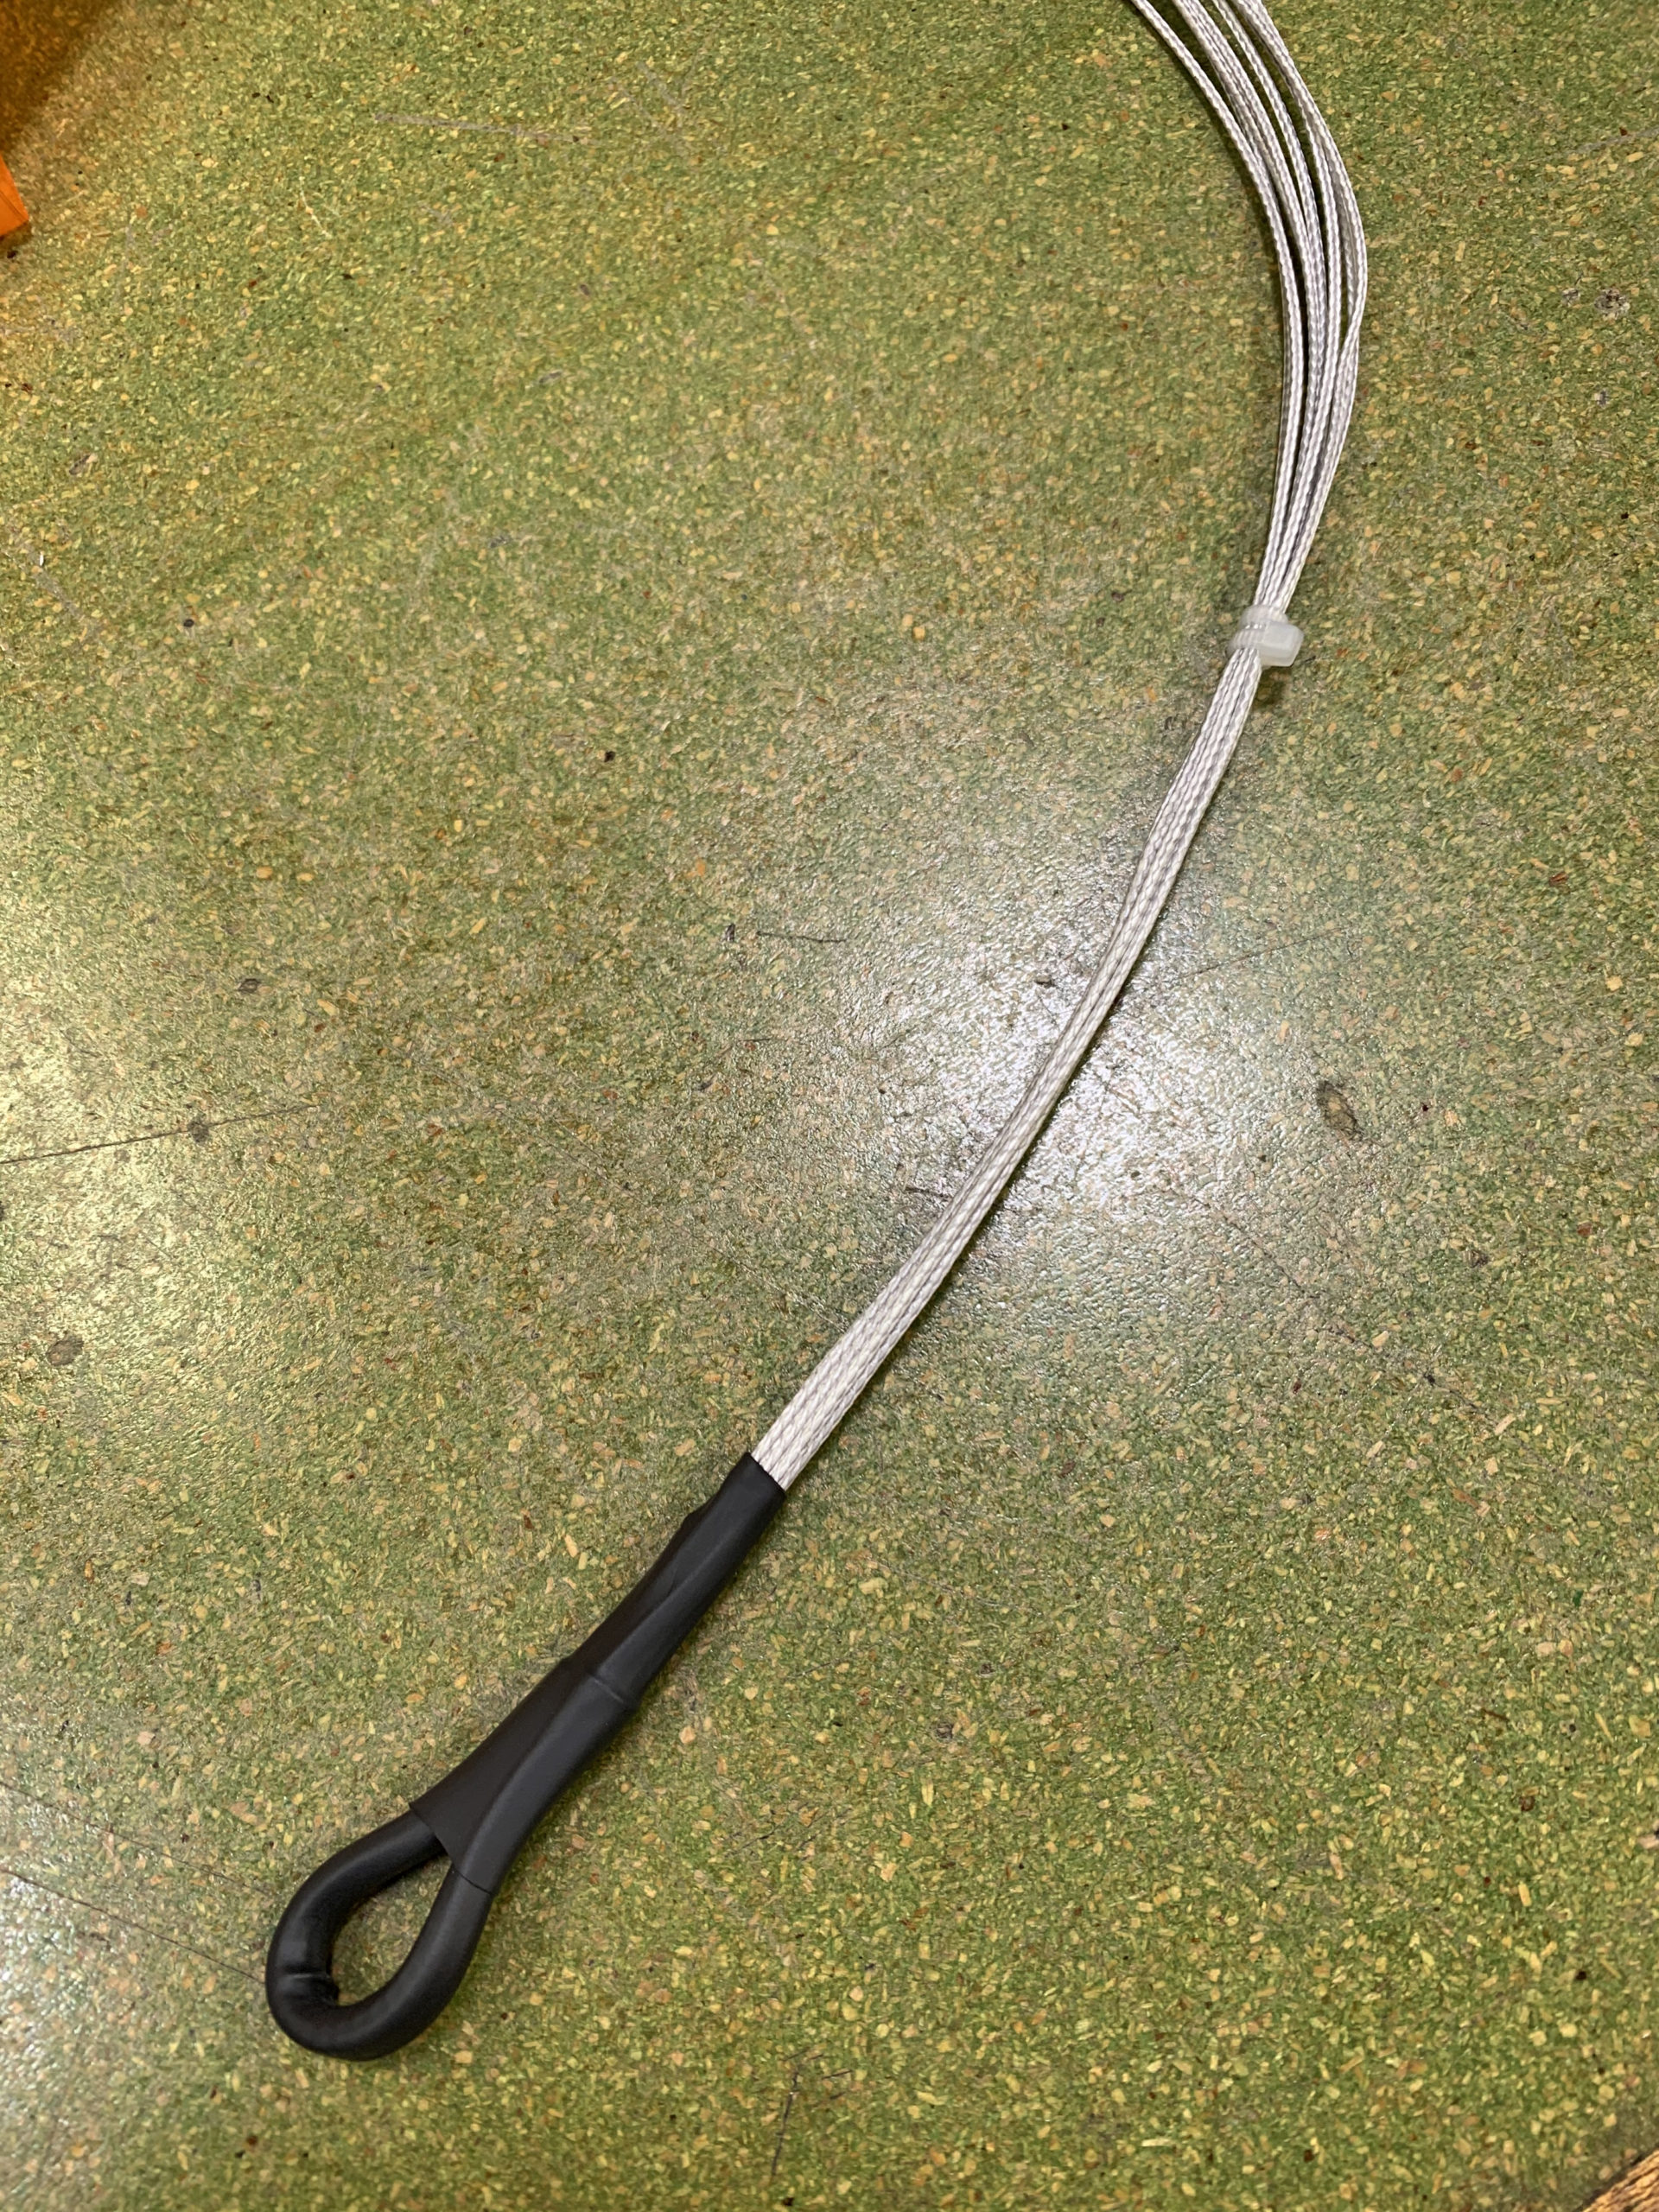
After some thought we realised that the ropes length would also determine the aperture size, even though we couldn’t find anything relevant on the internet, we tried to attached them togheter earlier than the loop at a distance we believed correct.
By carrying out another test with this version we obtained our desired descent speed of about 8m/s.
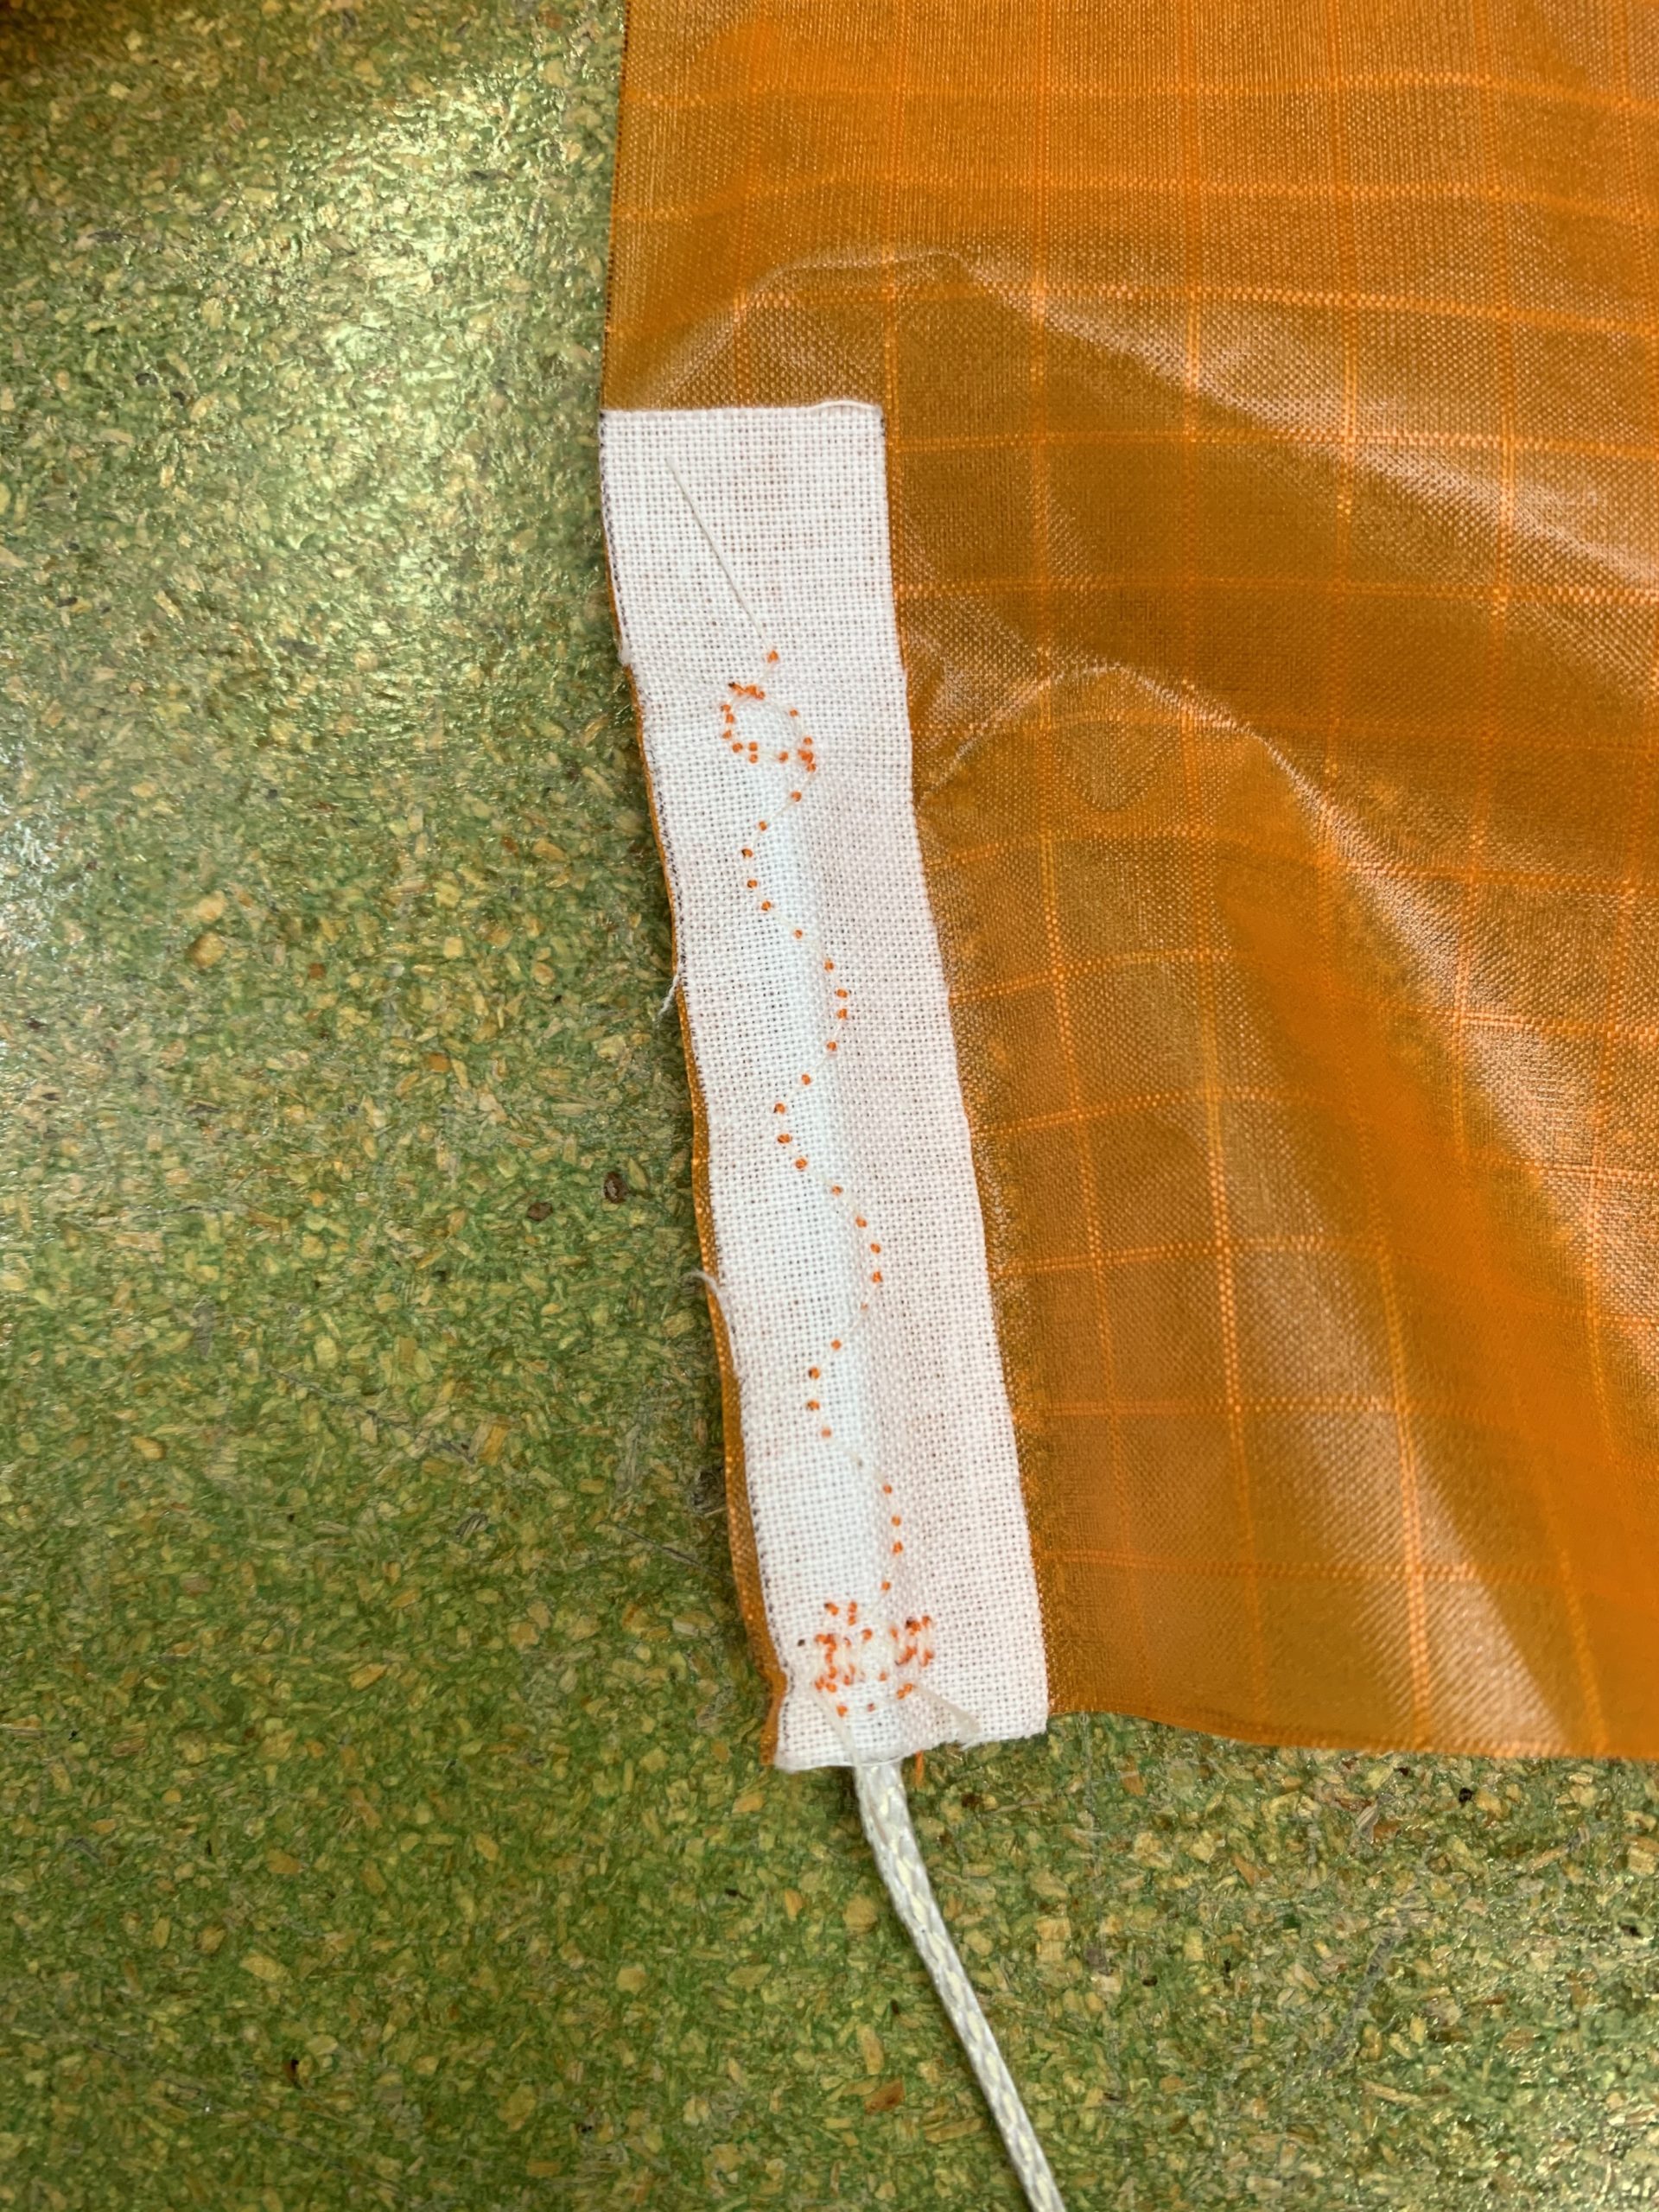
In the pictures above we can see the updated implementation with zip-ties and our final parachute!
